Connect Your Raspberry Pi: Securely Access Remote IoT Projects For Free
Have you ever faced that frustrating message, "There is a problem connecting securely to this website," or perhaps seen warnings that your device is out of date and missing important security updates? It's a truly unsettling feeling, isn't it, to know your connection might be untrusted, or that a security certificate presented just isn't right? That feeling of vulnerability, like when your browser tells you it can't confirm a connection is secure, is something many of us have experienced, and it really makes you think about how we connect things, especially our little IoT projects, to the wider world. So, it's pretty clear, keeping things safe and sound is a big deal.
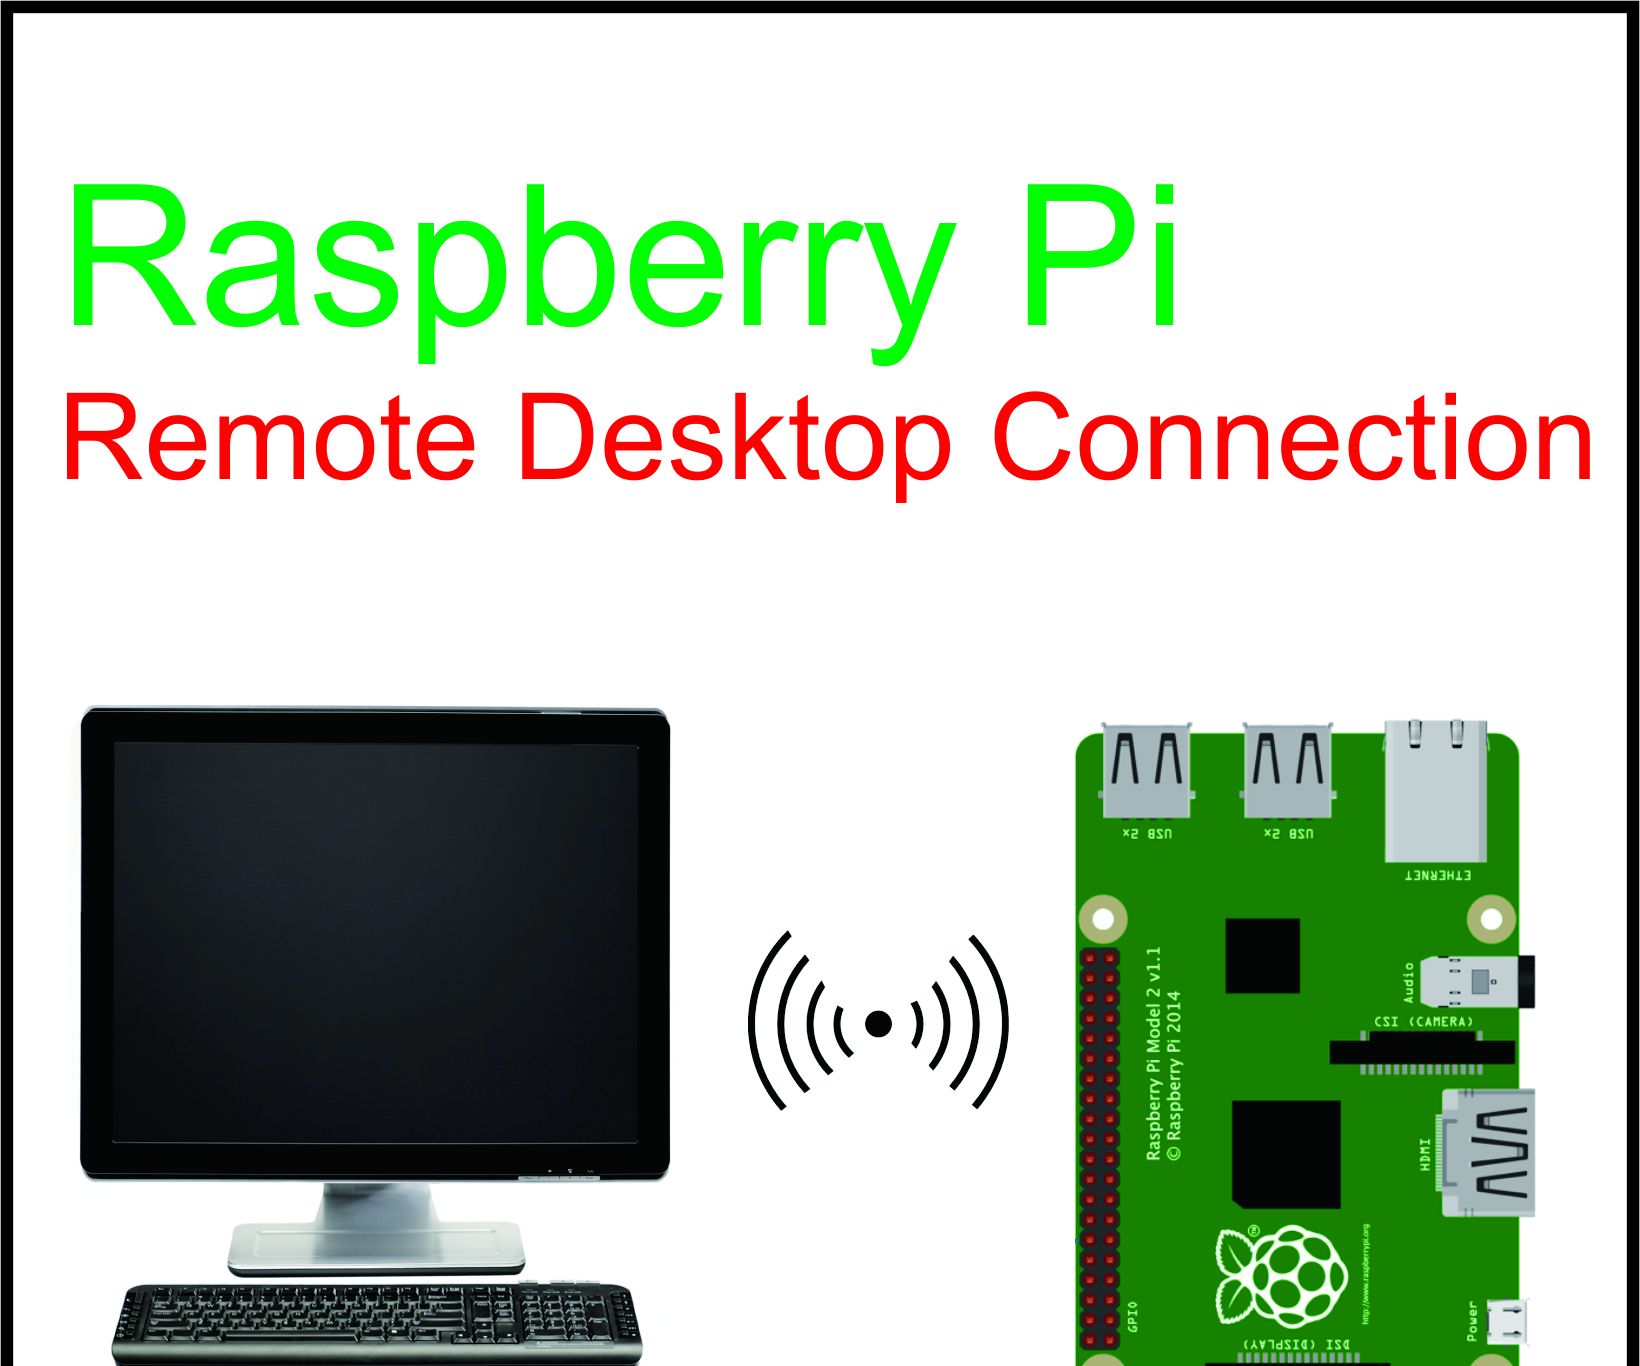
When you're working with a Raspberry Pi for your Internet of Things (IoT) creations, and you want to reach it from far away, the idea of doing that without spending a lot of money is super appealing. Yet, the thought of doing it freely often brings up worries about how safe that connection really is. You want to be able to check on your smart garden or your home automation system from anywhere, but you absolutely don't want to open up your home network to unwanted visitors, which is a concern for many, you know?
This article is here to show you how you can indeed securely connect remote IoT VPC Raspberry Pi free, giving you peace of mind while keeping your costs down. We'll go through the steps, talk about the tools, and share some pointers to help you get your remote setup working without a hitch. It's about getting you back on track so your tiny computers can run more securely, just like you'd want your main computer to, and that's the goal here.
Table of Contents
- Why Keeping Your IoT Projects Safe Matters
- What a Virtual Private Cloud Means for IoT
- Getting Your Raspberry Pi Ready for Remote Access
- Free Tools and Methods for a Secure Link
- Picking a Free Cloud Provider for Your VPC
- Step-by-Step: Building Your Secure, Free Connection
- Keeping Your Setup Safe and Sound Over Time
- Frequently Asked Questions (FAQs)
- Final Thoughts on Your Secure IoT Journey
Why Keeping Your IoT Projects Safe Matters
Just like your computer flashing warnings about being out of date, your IoT devices, especially something as open as a Raspberry Pi, need constant attention to their well-being. If you've ever seen those messages about an untrusted connection or a security certificate not being quite right, you know the feeling. It's not just about protecting your device; it's about protecting your entire home network, your data, and even your privacy. An unprotected IoT device can be a way in for someone who shouldn't be there, and that's a situation nobody wants, really.
Think about it: your Raspberry Pi might be controlling lights, monitoring sensors, or even handling personal information. If that connection isn't secure, it's like leaving your front door wide open. Bad actors could mess with your devices, steal your data, or even use your Pi as a stepping stone to get into other parts of your network. This is why connecting securely connect remote iot vpc raspberry pi free isn't just a good idea; it's a necessity, especially today.
We've all heard stories, or perhaps even experienced ourselves, issues where a system isn't running as securely as it could be. My own experience with "security certificate problems" across multiple browsers, like MS Edge, Firefox, and Chrome, really showed me how widespread these connection issues can be. It's not just about getting online; it's about getting online *safely*, and that applies just as much to your little Pi as it does to your main computer, you know, for peace of mind.
What a Virtual Private Cloud Means for IoT
The Idea of a VPC
A Virtual Private Cloud, or VPC, is like having your very own section of a big public cloud, but it's set apart just for you. Think of it as your own private office space within a huge office building. You get to decide who comes in and out, and you have control over your own network settings, which is pretty neat. This separation gives you a layer of security and privacy that you wouldn't get if your devices were just floating out on the open internet, so it's a valuable thing.
Within your VPC, you can set up virtual networks, assign IP addresses, and configure firewalls, all just for your things. It’s a way to make sure your IoT devices, like your Raspberry Pi, are talking only to the things they should be talking to, and nothing else. This setup gives you a lot of flexibility and, more importantly, a good deal of control over your network environment, which is something you really want when dealing with remote access.
Why Use a VPC for Your Pi Projects?
Using a VPC for your Raspberry Pi IoT projects offers a few big advantages, especially when you're aiming for a secure, free connection. First, it creates a protected space for your Pi. Instead of exposing your Pi directly to the internet, it sits inside your VPC, hidden behind layers of security you control. This means fewer direct attacks, which is a huge plus, frankly.
Second, a VPC lets your Pi communicate with other cloud services or even other IoT devices within that private network, all while staying isolated from the public internet. This can be super useful for data collection, processing, or even for connecting multiple Pi devices in different locations to a central hub. It provides a consistent and secure environment, which is really what you're after when you're connecting things remotely.
Third, many cloud providers offer free tiers that include VPC services, making it possible to set up this secure environment without spending a dime. This fits perfectly with our goal to securely connect remote IoT VPC Raspberry Pi free. It's a way to get enterprise-level security features for your hobby projects, and that's a pretty sweet deal, if you ask me.
Getting Your Raspberry Pi Ready for Remote Access
Initial Setup and Updates
Before you even think about connecting your Raspberry Pi to a remote VPC, the very first thing you need to do is make sure it's completely up to date. This is like getting your Windows system back on track after it's been missing important security and quality updates. An out-of-date system is an open invitation for problems, and you really don't want that, do you?
So, fire up your Raspberry Pi, open a terminal, and run these commands:
sudo apt update(This refreshes the list of available updates.)sudo apt full-upgrade(This installs all the updates, including new versions of the operating system components.)sudo apt clean(This removes downloaded package files to free up space.)sudo apt autoremove(This gets rid of old, no longer needed packages.)
Do this regularly, perhaps once a month or whenever you're doing something new with your Pi. Keeping your system current is the most basic, yet most effective, security step you can take. It helps patch known weaknesses, just like those security updates for your main computer, so it's a good habit to get into, you know?
Hardening Your Pi's Defenses
Beyond just updating, there are several things you can do to make your Raspberry Pi tougher against unwanted access. First, change the default password for the 'pi' user, or even better, create a new user and disable the 'pi' user. This is a very simple step, but it makes a big difference, honestly.
Next, think about using SSH keys instead of passwords for remote access. SSH keys are much more secure and harder to guess than even complex passwords. It might seem a bit tricky at first, but it's a standard practice for secure remote connections, and it's well worth the effort. There are plenty of guides online that walk you through setting this up, so you're not alone there.
Also, consider enabling a firewall on your Raspberry Pi, like `ufw` (Uncomplicated Firewall). This lets you control which incoming and outgoing connections are allowed, blocking anything that isn't absolutely necessary. It's like having a bouncer at the door of your Pi, only letting in the people you trust. This adds another layer of defense, which is always a good thing, basically.
Free Tools and Methods for a Secure Link
SSH: A Simple Start
SSH, or Secure Shell, is probably the most common way to access your Raspberry Pi remotely. It provides an encrypted connection, meaning anything you send or receive is scrambled so others can't easily read it. This is a solid starting point for security, and it's built right into most Linux systems, including Raspberry Pi OS, so it's very accessible.
While SSH itself is secure, the way you use it matters. Always use strong, unique passwords, or, as mentioned before, switch to SSH keys. Also, consider changing the default SSH port (port 22) to something else. This won't stop a determined attacker, but it will deter automated scanning bots that look for default ports, making your Pi a little less obvious, you know?
For even more security, you can set up two-factor authentication (2FA) for your SSH login. This means you'll need not just your password or key, but also a code from your phone or another device. It adds an extra layer of protection, making it much harder for someone to gain access even if they somehow get your password, which is a big comfort, really.
Virtual Private Networks (VPNs)
A VPN creates a secure, encrypted tunnel over the internet between your device and your Raspberry Pi (or your VPC). It makes it seem like your remote device is actually on the same local network as your Pi, even if they are thousands of miles apart. This is a fantastic way to ensure privacy and security for all traffic, not just SSH, so it's a comprehensive solution.
There are free and open-source VPN solutions you can set up on your Raspberry Pi, like OpenVPN or WireGuard. You'd typically set up the Pi as a VPN server, and then connect to it using a VPN client on your computer or phone. This way, all your communication goes through that secure tunnel, keeping everything private. It's a pretty popular method for good reason, you know.
Setting up a VPN can be a bit more involved than just SSH, but the added security and flexibility are often worth it. It's especially useful if you need to access multiple services on your Pi, or if you want to route all your remote traffic through your Pi's network, which is a common need for IoT projects. Plus, it helps avoid those "untrusted connection" messages, which is a nice bonus, to be honest.
Cloud Free Tiers and Their Offerings
Many major cloud providers offer generous "free tiers" that include services perfect for setting up a secure VPC and connecting your Raspberry Pi. These free tiers often give you enough resources to run a small virtual server, create a private network, and handle some data transfer without any cost. This is how we can truly securely connect remote IoT VPC Raspberry Pi free, which is the whole point.
These free tiers are not just trials; they are often permanent offerings for low-usage scenarios. This means you can keep your IoT project connected and secure indefinitely, as long as you stay within the free limits. It's a fantastic way to experiment, learn, and deploy small-scale projects without worrying about monthly bills, which is a huge relief for hobbyists, as a matter of fact.
We'll look at a few popular options like AWS, Google Cloud, and Oracle Cloud. Each has its own strengths and specific free tier allowances, so it's worth checking them out to see which one fits your project best. The key is to understand what's included and how to use it efficiently to stay within those free boundaries, which is pretty important, you know.
Picking a Free Cloud Provider for Your VPC
Choosing the right cloud provider for your free VPC setup depends a bit on your comfort level and the specific resources your project needs. They all offer ways to securely connect remote iot vpc raspberry pi free, but they do it in slightly different ways. It's worth exploring each one to see which interface you like best and which services fit your vision, you know?
Amazon Web Services (AWS) Free Tier
AWS is a giant in cloud computing, and their free tier is quite comprehensive. It includes a certain amount of EC2 (virtual server) usage, which you can use to host a small server that acts as a bridge to your Raspberry Pi. More importantly for us, it includes VPC services, allowing you to create your isolated network. You get a good amount of data transfer too, which is helpful.
Setting up a VPC in AWS involves creating a Virtual Private Cloud itself, defining subnets, setting up route tables, and configuring security groups. Security groups are like virtual firewalls that control traffic to and from your virtual instances. They are super important for keeping your connection safe, so you'll want to pay close attention to those, obviously.
While AWS can seem a bit complex at first due to its many services, there are tons of tutorials and a huge community to help you along. The free tier is generous enough for many small IoT projects, making it a very popular choice for those looking to connect their devices securely and without cost, which is a pretty good deal, honestly.
Google Cloud Platform (GCP) Free Tier
GCP also offers a solid free tier that can be used for your secure IoT connection. It typically includes a free f1-micro VM instance, which is a tiny virtual computer, along with some storage and network egress. This little VM can serve as your gateway within your VPC, allowing your Raspberry Pi to talk to it securely.
GCP's networking setup, including VPCs, is quite intuitive. You define your VPC network, create firewall rules, and set up your virtual machine. Their firewall rules are powerful and easy to manage, letting you specify exactly what kind of traffic is allowed in and out of your VPC. This control is key for keeping things secure, you know, just like you'd want for your own system.
The free tier resources are usually sufficient for a single Raspberry Pi IoT project that doesn't generate a massive amount of data. It's a great option if you prefer Google's ecosystem or find their interface a bit more user-friendly, which some people do, to be honest. It's another excellent way to securely connect remote IoT VPC Raspberry Pi free.
Oracle Cloud Infrastructure (OCI) Free Tier
Oracle Cloud's free tier is quite impressive because it offers "Always Free" services, meaning they don't expire. This includes two AMD-based Compute VMs, which are virtual servers, along with a certain amount of storage and networking. This is particularly appealing for long-term projects, as you don't have to worry about the free tier running out after a year, which is a common concern with other providers.
OCI's networking setup is robust, allowing you to create your Virtual Cloud Network (VCN), which is their term for VPC. You can configure security lists and network security groups to control traffic flow, similar to AWS. The always-free VMs are powerful enough to run a VPN server or a secure proxy, providing a strong link to your Raspberry Pi, so it's a very capable option.
For those looking for a truly permanent free solution for their IoT connections, OCI's Always Free tier is a very strong contender. It provides substantial resources for free, making it an excellent choice for hobbyists and small projects aiming to securely connect remote IoT VPC Raspberry Pi free. It's definitely worth a look, in my opinion.
Step-by-Step: Building Your Secure, Free Connection
Now that we've talked about why security matters and what a VPC is, let's look at the general steps to put it all together. Remember, the exact steps will vary a little depending on which cloud provider you pick, but the overall idea stays the same. This is about getting your Raspberry Pi talking to your cloud VPC in a safe and sound way, which is what we want, you know?
Setting Up Your VPC
First, you'll sign up for your chosen cloud provider's free tier. Once you're in, the initial step is to create your Virtual Private Cloud (or VCN in Oracle's case). This involves defining its IP address range, which is like picking a block of numbers for your private network. You'll then create subnets within this VPC; these are smaller sections for different parts of your setup.
Next, you'll set up routing tables and internet gateways. The internet gateway allows traffic to flow between your VPC and the public internet, but you'll control exactly what traffic. Crucially, you'll configure security groups or network security lists. These are your firewalls. You'll specify which ports are open and which IP addresses are allowed to connect, making sure only trusted connections get through, which is very important, frankly.
Finally, you'll launch a small virtual machine (VM) within your VPC. This VM will act as your bridge or VPN server. This is the machine your Raspberry Pi will connect to, and through which you'll access your Pi. Make sure this VM is also configured with strong security practices, just like your Pi, because it's a key part of your secure link, you know?
Connecting Your Raspberry Pi to the VPC
With your VPC and VM set up, the next big step is to get your Raspberry Pi to connect to that VM securely. The most common and free way to do this is by setting up a VPN client on your Raspberry Pi that connects to a VPN server running on your cloud VM. OpenVPN or WireGuard are excellent choices for this, as they are open-source and widely supported.
You'll generate VPN configuration files on your cloud VM (the VPN server) and then transfer them securely to your Raspberry Pi. On the Pi, you'll install the VPN client software and use these configuration files to establish the encrypted tunnel. Once the VPN connection is up, your Raspberry Pi will effectively be a part of your private cloud network, which is pretty cool, honestly.
Alternatively, for simpler setups, you could use SSH tunneling or a reverse SSH tunnel from your Pi to the cloud VM. This is less comprehensive than a full VPN but can still provide a secure channel for specific services. The key is that your Pi initiates the connection *out* to your trusted VM, rather than having your Pi exposed directly to incoming connections from the open internet, which is a much safer approach, in a way.
Testing Your Secure Link
Once you think everything is connected, it's time to test

Securely Connect Remote IoT VPC Raspberry Pi AWS: A Comprehensive Guide

How To Achieve Raspberry Pi Secure Remote Access For Free A Comprehensive Guide Instll Connect Ly
Securely Connect RemoteIoT VPC Raspberry Pi: A Comprehensive Guide
