Mastering Remote Access: How To Control Your Raspberry Pi Behind A Router
Are you looking to stay connected with your Raspberry Pi, even when you're far away from home? It's a common desire for anyone playing around with small computers and smart devices. Getting your Raspberry Pi to listen to your commands from anywhere, when it's tucked away behind your home internet box, can feel a bit like magic. But it's totally doable, and it opens up a whole lot of cool possibilities for your projects.
So, why is controlling your Raspberry Pi behind a router such a big deal? Well, if you're planning to use your Raspberry Pi as a home server, a spot for your media, or even a smart home brain, you really need to be able to reach it from outside your local network. This kind of remote access means your projects can keep working for you, no matter where you are, which is pretty handy, you know?
This guide will walk you through the steps and different ways to achieve this connection. We'll talk about the tools you'll need, the network ideas that make it all happen, and some smart ways to keep things safe. It's about giving you the freedom to manage your Raspberry Pi, no matter if you're just across town or on the other side of the world, actually.
Table of Contents
- Why Accessing Your Pi Behind a Router Matters
- Understanding Your Home Network
- Essential Tools and Preparations
- Methods for Remote Raspberry Pi Control
- Troubleshooting Common Issues
- Keeping Your Remote Access Secure
- FAQ
Why Accessing Your Pi Behind a Router Matters
The "Big Deal"
As the line from "My text" says, "Controlling a raspberry pi behind a router is an essential skill for anyone diving into the world of iot (internet of things)." This really hits the nail on the head. Your Raspberry Pi, sitting on your home network, is pretty much invisible to the outside world by default. If you want it to do things like send you updates, manage smart devices while you're away, or host a personal website, you need a way for the outside world to talk to it, you know?
So, why is controlling a Raspberry Pi behind a router such a big deal? Well, if you're planning to use your Raspberry Pi as a home server, media center, or even a smart home hub, you absolutely need this ability. It means your projects are always available, not just when you're physically there. This freedom to manage things from afar is incredibly useful, pretty much.
Benefits of Remote Control
The advantages of setting up remote IoT control using a Raspberry Pi behind a router, offering free solutions, are immense. You get to control and monitor your IoT gadgets, your home server, or whatever project you have going on, from anywhere with an internet connection. This means you can check on your security camera feed, turn on lights, or access files without needing to be in the same room. It's about convenience and making your tech work for you, very much.
For instance, imagine you set up your Pi to keep an eye on your home's temperature. With remote access, you could check that reading and even adjust your thermostat from your phone while you're at work. Or perhaps you've got a little media server. You could start a movie download before you even get home, which is quite a time-saver, isn't it? These are just a few simple ways remote control makes your life easier, basically.
Understanding Your Home Network
Routers and Local Networks
Your home router acts like a traffic cop for your internet connection. It takes the single internet connection from your service provider and shares it with all the devices in your house, like your phone, laptop, and, of course, your Raspberry Pi. These devices are all part of your "local network." The router keeps them separate from the wider internet for security reasons, which is a good thing, you know?
Every device inside your home network gets a private address, like a street number within your own little neighborhood. Your router, on the other hand, has a public address, which is like your house number on the main street of the internet. When you want to reach a device inside your home from the outside, you need to tell your router where to send that incoming request, in a way.
IP Addresses: Local vs. Public
Every device connected to a network has an IP address. On your home network, your Raspberry Pi has a local IP address (like 192.168.1.100). This address is only visible within your home network. Your router, however, has a public IP address, which is the one the rest of the internet sees. When you try to connect to your Pi from outside your home, you're trying to connect to your router's public IP, so.
The challenge is that your router's public IP address might change sometimes, especially if your internet provider gives you a "dynamic" IP. This means you might need a way to keep track of that changing address, or use a service that does it for you. This is where things like Dynamic DNS (DDNS) services come in handy, more or less. They give you a fixed web address that always points to your router's current public IP, which is pretty neat, actually.
Essential Tools and Preparations
To successfully control Raspberry Pi behind router IoT using Android, or any other device, you’ll need a combination of hardware, software, and network tools. Getting these ready before you start will make the whole process much smoother, you know?
Hardware Needs
- Raspberry Pi: Any model will work, but newer ones usually offer better performance.
- SD Card: With the Raspberry Pi OS installed.
- Power Supply: Stable and appropriate for your Pi model.
- Ethernet Cable (Optional but Recommended): For a more reliable initial connection than Wi-Fi.
- Router: Your home router, which you can access to change settings.
- A Device to Control From: Your laptop, smartphone (Android or iOS), or another computer.
Software Setup
First off, make sure your Raspberry Pi OS is up to date. This is always a good idea for security and stability. You'll also want to make sure SSH (Secure Shell) is enabled on your Pi. SSH is the main way you'll be sending commands to your Pi from another computer, so it's quite important. You can enable it through the Raspberry Pi configuration settings, just like you might use a control panel to change settings for Windows.
For remote access, you'll need an SSH client on your control device. If you're using Windows, tools like PuTTY are popular. On macOS or Linux, the terminal has SSH built right in. For phones, there are various SSH client apps available. You'll also want a way to manage files, perhaps an SFTP client, which works over SSH, you know?
Network Tools
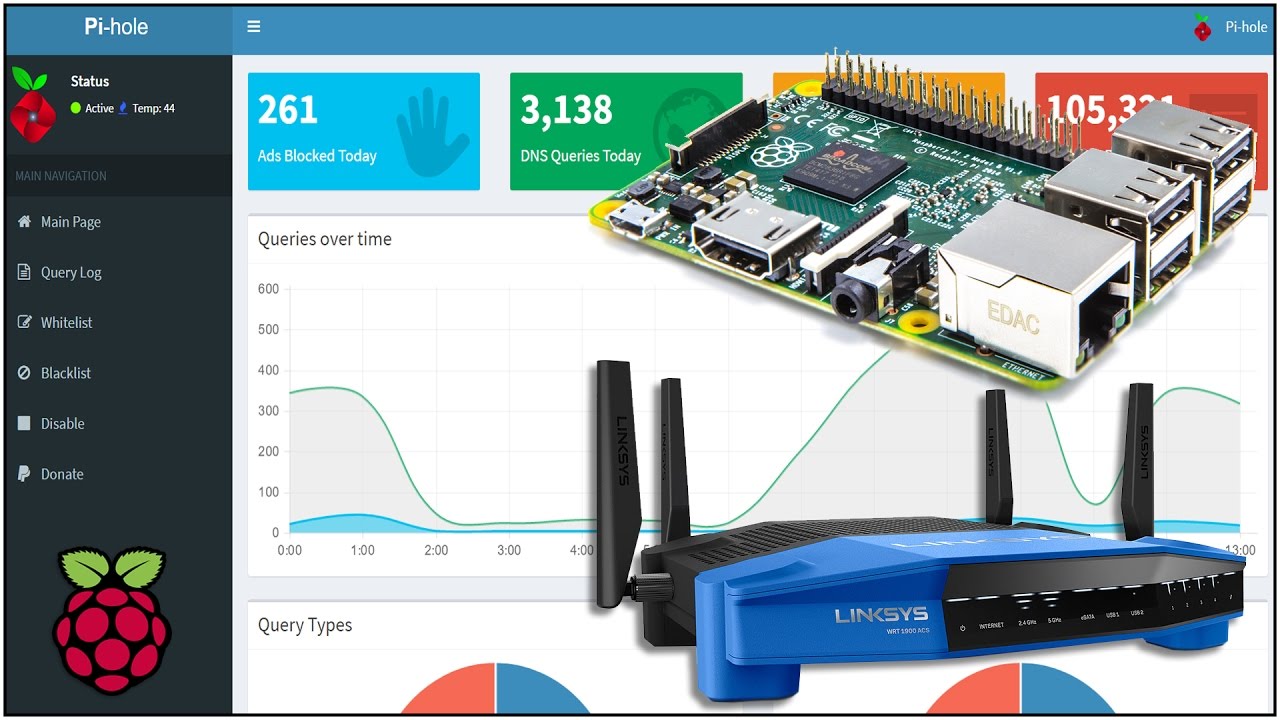
You'll need access to your router's administration panel. This is where you'll make changes to allow outside connections. You'll also want to know your Pi's local IP address, which you can find by typing `hostname -I` into the Pi's terminal. Sometimes, a network scanner app can help you find all the devices on your local network, which is pretty useful, actually.
Additionally, you might want to look into a Dynamic DNS (DDNS) service if your public IP address changes often. Services like No-IP or DuckDNS can give you a fixed web address that always points to your router, even if its public IP shifts. This saves you the trouble of constantly looking up your router's new address, more or less.
Methods for Remote Raspberry Pi Control
Port Forwarding: A Direct Approach
How it Works
Port forwarding is a direct way to tell your router to send specific incoming requests from the internet to a particular device on your local network. Think of it like this: your router has many "ports," like doors. When someone from the outside tries to open a specific door (a port), you tell your router, "Hey, send whatever comes through this door directly to my Raspberry Pi's door." This lets external connections reach your Pi, pretty much.
Steps to Set Up
First, you'll need to log into your router's settings. You usually do this by typing your router's IP address (often something like 192.168.1.1 or 192.168.0.1) into a web browser. Look for a section called "Port Forwarding," "NAT," or "Virtual Servers." You'll then create a new rule. You'll specify the external port (e.g., 22 for SSH), the internal IP address of your Raspberry Pi, and the internal port (also 22 for SSH). You might also need to pick a protocol, like TCP, you know?
It's also a good idea to give your Raspberry Pi a static local IP address. This means its address on your home network won't change, so your port forwarding rule will always point to the right place. You can usually set this up in your router's DHCP reservation settings or directly on the Raspberry Pi itself. This avoids your Pi getting a different address after a reboot, which would break your remote access, actually.
Security Notes
While port forwarding is straightforward, it does open a "door" to your home network. This means you need to be very careful with security. Always use strong, complex passwords for your Raspberry Pi. It's also highly recommended to use SSH key authentication instead of just passwords. This adds a much stronger layer of protection. You should also consider changing the default SSH port (port 22) to a different, less common one, just to avoid some automated attacks, so.
Regularly update your Raspberry Pi's software. This helps patch any security weaknesses that might be found. And never forward ports you don't absolutely need. The fewer open doors, the better. If you only need SSH, only forward port 22 (or your chosen alternative). You can learn more about security practices on our site, which is quite useful, you know?
VPN: Secure Tunneling
Why Use a VPN
Setting up a VPN (Virtual Private Network) server on your Raspberry Pi is a much more secure way to control it remotely. Instead of opening specific ports to the internet, a VPN creates a secure, encrypted "tunnel" from your remote device directly into your home network. Once connected to the VPN, your remote device acts as if it's physically inside your home network, which is pretty cool, isn't it?
This means you can access any device on your home network, not just your Pi, without needing to forward multiple ports. It's like having a secret, private road directly to your house that only you can use. This method offers much better security and flexibility compared to simple port forwarding, in a way.
Setting Up a VPN Server on Pi
There are several VPN server software options you can install on your Raspberry Pi, like OpenVPN or WireGuard. These can be a bit more involved to set up than simple port forwarding, but there are many good guides available. You'll still need to forward one single port on your router for the VPN connection itself, but once that's done, everything else inside the VPN tunnel is secure, you know?
For example, you might set up OpenVPN. This involves installing the software on your Pi, generating security keys and certificates, and then configuring a client on your remote device. It sounds like a lot, but there are scripts and tools that simplify the process quite a bit, honestly. Once it's running, you just connect to your VPN, and then you can SSH into your Pi using its local IP address, just as if you were sitting at home, actually.
Reverse SSH Tunneling: Getting Around Restrictions
When to Use It
Sometimes, you can't use port forwarding because your internet service provider (ISP) blocks it, or you don't have a public IP address (this is common with "CGNAT" setups). This is where reverse SSH tunneling becomes a very clever solution. It works by having your Raspberry Pi initiate an outbound connection to a publicly accessible server (a "middleman" server) and keep that connection open. Then, you connect to that middleman server, and it routes your connection back to your Pi through the established tunnel, you know?
This method is great because your Pi makes the connection outwards, which most routers and ISPs allow. It doesn't require any incoming connections to your home router. It's a bit like your Pi calling a friend's house and saying, "I'm here, you can reach me through this number," and then you call that friend's house to talk to your Pi, pretty much.
Setting Up the Tunnel
To set up a reverse SSH tunnel, you'll need a public server somewhere with a static IP address. This could be a small, inexpensive virtual private server (VPS) from a cloud provider. Your Raspberry Pi will run a command like `ssh -R 8080:localhost:22 user@your_public_server_ip` which tells your Pi to open a remote port (8080) on the public server that forwards traffic back to its local SSH port (22). Then, from your remote device, you SSH into the public server and connect to that forwarded port, so.
This method can be a little more complex to set up initially, as it involves managing a third server. However, it's incredibly powerful for getting around network limitations. You might even set up a script on your Pi to automatically re-establish the tunnel if the connection drops, ensuring continuous access. It's a really flexible approach for tricky network situations, actually.
Cloud Services/IoT Platforms: Managed Solutions
Benefits and Drawbacks
For those who prefer a simpler, more hands-off approach, various cloud services and IoT platforms offer managed solutions for remote Raspberry Pi control. These services handle the networking complexities for you. You typically install a client application on your Pi, and it connects to the service's cloud. Then, you use a web interface or an app provided by the service to control your Pi. This is very convenient, as it usually requires minimal setup on your end, you know?
The main benefit is ease of use. You don't have to worry about port forwarding, dynamic IPs, or setting up VPNs. The drawback is that these services might come with a cost, especially for advanced features or higher usage. Also, you're relying on a third party for your connection, which means you need to trust their security and privacy practices, pretty much.
Examples
There are many services that offer this kind of remote access. Some are specifically for IoT projects, allowing you to send data from your Pi to the cloud and control it from there. Others are more general remote access tools. These platforms often provide dashboards where you can see sensor readings, send commands, and manage your Pi's status. They abstract away the network stuff, making it accessible even for beginners, in a way.
While I won't name specific products, many of these services work by having your Pi make an outbound connection to their servers, similar to how reverse SSH tunneling works, but it's all managed for you. This means they can often bypass router restrictions without you needing to do anything with your router settings, which is a big plus for many people, honestly.
Troubleshooting Common Issues
Controlling Raspberry Pi behind router not working can be a challenging issue, but with the right approach, it's entirely solvable. By understanding the underlying networking concepts and checking a few key areas, you can often figure out what's going wrong. It's a bit like solving a puzzle, you know?
"Not Working" Scenarios
If you're having trouble, first check the basics. Is your Raspberry Pi actually powered on and connected to your home network? Can you ping it from another device on your local network? If not, the problem might be with your Pi's network connection, not the remote access setup. Also, double-check that SSH is enabled on your Pi, as this is a common oversight, so.
Another common issue is incorrect IP addresses. Make sure you're using the correct local IP for your Pi when setting up port forwarding, and the correct public IP (or DDNS hostname) when trying to connect from outside. Small typos can cause big headaches, honestly.
Checking Network Settings
Log into your router's administration panel again. Verify that your port forwarding rules are set up exactly as they should be, pointing to the correct internal IP address and port. Make sure the rule is "enabled" or "active" if there's a toggle for it. Sometimes, a router update can reset settings, or a power outage might cause issues, pretty much.
If you're using a DDNS service, check that it's updating correctly with your router's public IP. Many DDNS services have a dashboard where you can see the last updated IP. If your public IP has changed and your DDNS hasn't updated, your remote connection will fail, you know?
Firewall Considerations
Both your router and your Raspberry Pi might have firewalls. Your router's firewall is usually what's stopping incoming connections unless you specifically allow them with port forwarding. However, your Raspberry Pi also has its own software firewall (like `ufw` or `iptables`). If you've configured a firewall on your Pi, make sure it's allowing connections on the port you're trying to use (e.g., port 22 for SSH). If the Pi's firewall is blocking it, even if your router forwards the port, the connection won't go through, actually.
Temporarily disabling the Pi's firewall (if you have one enabled) can be a good troubleshooting step to see if that's the source of the problem. If it works after disabling, then you know you need to adjust your firewall rules on the Pi. Just remember to re-enable it and configure it properly afterward for security, very much.
Keeping Your Remote Access Secure
Whenever you open up your home network to the outside world, security becomes super important. You're creating a pathway, and you want to make sure only you, or people you trust, can use it. This is about protecting your data and your home network from unwanted visitors, you know?
Strong Passwords
This might seem obvious, but it's worth repeating: use very strong, unique passwords for your Raspberry Pi. This means long passwords with a mix of uppercase and lowercase letters, numbers, and symbols. Avoid common words or personal information. A password manager can help you create and remember these, so. Don't use the default "raspberry" password if you haven't changed it!
Also, make sure your router's administration password is strong and changed from its factory default. If someone can get into your router, they can mess with all your settings, including your remote access rules, pretty much.
SSH Key Authentication
For SSH access, using SSH keys is far more secure than using passwords alone. It involves creating a pair of cryptographic keys: a public key that goes on your Raspberry Pi and a private key that stays securely on your local computer. When you try to connect, your computer uses its private key to prove its identity to the Pi, and the Pi verifies it with the public key. This way, even if someone guesses your password, they can't get in without your private key, which is a huge security upgrade, actually.

Control Raspberry Pi Behind Router Windows 10 Free: A Comprehensive Guide
How To Control Raspberry Pi Behind Router Iot Free Android A

Control Raspberry Pi Behind Router Not Working Comprehensive Guide To
