Learning The Cursive Z: A Fresh Look At A Familiar Letter
Learning to write the letter z in cursive can feel like a small, rewarding adventure for many people. It is a letter that, like so many others, has its own special flow and shape when written with connected strokes. Getting it right really helps your handwriting look neat and complete, which is quite satisfying.
For some, cursive might seem like something from a long time ago, yet there's a growing interest in bringing it back. People are finding joy in its unique beauty and the personal touch it adds to notes or signatures. Thinking about how letters connect, like how one might align sushi in the center of a plate, makes you appreciate the careful thought that goes into each stroke, so to speak.
This article will help you get a good handle on writing the letter z in cursive, whether you are just starting out or simply want to improve your penmanship. We will go over how to form both the capital and lowercase versions, and perhaps even share some tips to make your writing clear, not blurred, even with quick movements, you know?
Table of Contents
- Why Learn the Cursive Z?
- Understanding the Cursive Z: Uppercase and Lowercase
- Common Challenges and How to Overcome Them
- Practice Makes Perfect: Tips for Improving Your Cursive Z
- Frequently Asked Questions About Cursive Z
- The Joy of Cursive Writing Today
Why Learn the Cursive Z?
You might wonder why learning a specific letter like z in cursive still matters in our very digital world. Well, for one thing, it connects us to a past way of writing, which is quite nice. It is also a way to make your own mark, literally, and give your writing a unique feel, sort of like how a special font can change the whole look of a document.
There is also the benefit of improved hand-eye coordination and fine motor skills. When you practice the precise movements needed for cursive, you are actually giving your brain a good workout. It is a bit like trying to get a header to stay perfectly aligned on every page of a website; it takes careful effort and attention to detail, but the outcome is so worth it.
Plus, a clear, neat cursive 'z' can make your notes or cards look much more personal and thoughtful. It shows a bit of extra care, which people often appreciate. So, it is not just about writing; it is about adding a touch of something special to your communication, you know?
Understanding the Cursive Z: Uppercase and Lowercase
Getting a good grasp of both the capital and lowercase z in cursive is pretty straightforward once you break it down. Each has its own distinct shape and starting point, which is important to remember. We will look at them one by one, giving you a clear path to follow.
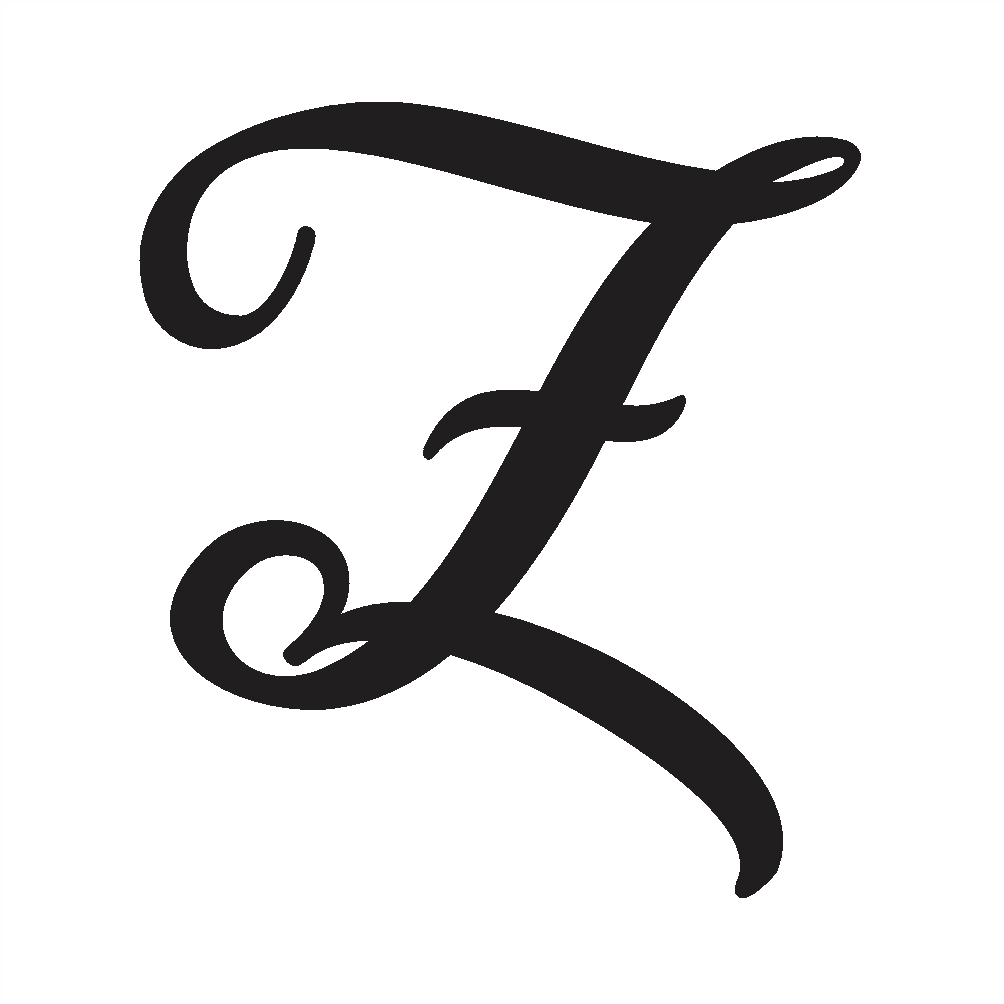
The Capital Z in Cursive
The capital Z in cursive often looks quite elegant and can vary a little depending on the style you learn, but there is a common way to form it. You usually start near the top line, making a small loop or curve that goes down and then sweeps up. It is almost like drawing a little wave at the beginning, honestly.
From that initial curve, your pen then moves diagonally downwards and to the left, crossing the middle line. Then, you make a larger, graceful loop at the bottom, sweeping up and to the right, perhaps even touching the baseline before coming back up. This bottom loop is pretty characteristic of the capital Z, sort of like the double-struck capital ℝ symbol has its own distinct look.
After completing the bottom loop, you finish by bringing the stroke across the middle of the letter, often with a small flourish or a crossbar, sometimes even a tiny loop at the end. This final touch connects it nicely to the next letter, making the flow smooth, which is what you want for good cursive, right?
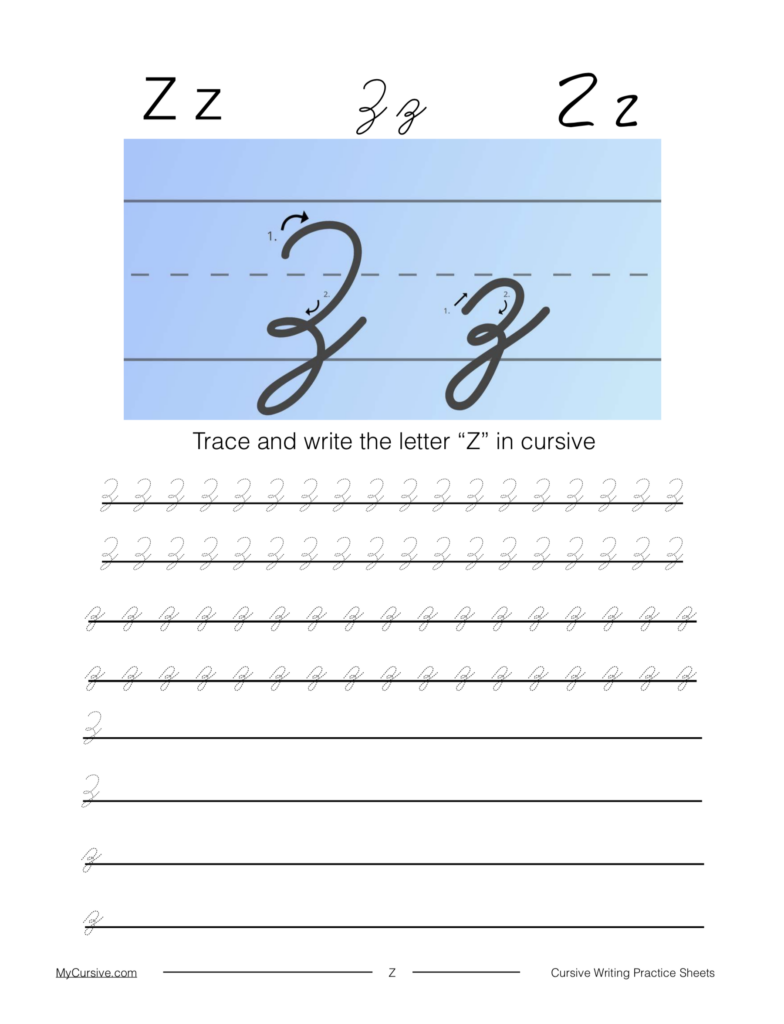
The Lowercase z in Cursive
The lowercase z in cursive is a bit simpler, yet it still has its own charm. You typically start just below the middle line, making a small, upward curve that resembles a tiny hill. This is your starting point for the letter, just a little gentle lift.
From that small curve, you then move downwards and to the left, making a diagonal line that crosses the baseline. This part is pretty similar to how you might start a lowercase 'r' or 's' in some cursive styles. It is about getting that initial angle just right, in a way.
Once you cross the baseline, you form a loop that goes below the line, sweeping to the left and then back up to the right. This loop is crucial for the lowercase 'z'. It is the part that gives it its unique character, kind of like how an animation for a background should change smoothly, not sharply, you know?
Finally, after completing the loop below the line, you bring the stroke back up to connect with the next letter. This connecting stroke usually comes from the top right of the loop. It is a quick, fluid movement that keeps your words flowing together, which is really what cursive is all about.
Common Challenges and How to Overcome Them
When you are learning z in cursive, you might run into a few common sticking points. One frequent issue is making the loops too small or too large, which can make the letter look a bit off. Another is getting the diagonal strokes to be consistent, so they do not look too steep or too flat, apparently.
Sometimes, people also find that their cursive 'z' ends up looking a bit like other letters, perhaps a 'g' or a 'y', especially if the loops are not formed clearly. This is pretty normal when you are starting out. It is like when text within a scaled div gets blurred; it needs a specific fix to become clear again.
To fix these things, it helps to practice slowly and focus on the individual parts of the letter. Use lined paper to guide your size and spacing. You might also trace over examples first, getting a feel for the motion before trying it on your own. Remember, consistency is key, and that comes with patient effort, so.
Practice Makes Perfect: Tips for Improving Your Cursive Z
Improving your z in cursive, like any skill, really comes down to consistent practice. Do not just write it once and expect perfection. Try writing rows of capital Zs and lowercase zs, focusing on making each one look similar to the last. This helps build muscle memory, you see.
Using the right tools can make a difference too. A pen that flows smoothly without skipping can make the experience much more enjoyable. Some people find that a pencil is better for initial practice because it allows for easy erasing, which is pretty handy. You can find more tips on penmanship guides that could help.
Try writing the letter in different contexts: as the first letter of a word, in the middle, and at the end. This helps you get used to connecting it to other letters. For example, write "zebra," "amazing," and "buzz." This kind of varied practice is quite effective, really.
Also, do not be afraid to look at different cursive fonts or examples online. Sometimes seeing a slightly different style can give you a new perspective on how to form the letter. It is all about finding what feels natural and looks good to you, more or less.
Just like with solving a coding problem where you are trying to make a timer for a quiz game, breaking it down into smaller steps and practicing each part separately can lead to a much better outcome. It is about getting the rhythm and the sequence right, in some respects.
Frequently Asked Questions About Cursive Z
Is cursive Z hard to write?
Many people find the cursive 'z' to be a bit more involved than some other letters, especially the capital version, but it is not really hard. It just has a few distinct loops and lines that need careful attention. With a little practice, it becomes quite easy to form, you know?
What does a cursive z look like?
The capital cursive 'Z' usually starts with a top curve, then a diagonal line down, followed by a large, sweeping loop at the bottom, and often a crossbar. The lowercase 'z' typically has a small top curve, a diagonal line down, and then a loop that goes below the writing line. They both have a very fluid, flowing appearance, which is pretty characteristic of cursive.
Why is my cursive z not connecting well?
If your cursive 'z' is not connecting smoothly to other letters, it could be that your ending stroke is not long enough or is not angled correctly. Make sure the final part of your 'z' reaches out to where the next letter would begin. Sometimes, it is just a matter of adjusting the pressure or the speed of your hand a little bit.
The Joy of Cursive Writing Today
Even though we use keyboards a lot today, the simple act of writing z in cursive, or any letter, can be a calming and creative activity. It is a way to slow down and really connect with the words you are putting on paper. This kind of personal touch is something digital text just cannot quite capture, honestly.
Think about how you feel when you receive a handwritten card versus an email. There is a warmth and a personal connection that comes from seeing someone's unique handwriting. Learning and using cursive, including that graceful 'z', helps keep that feeling alive, which is very nice.
So, whether you are practicing for personal enjoyment, to sign your name with a flourish, or just to keep an old skill alive, giving attention to letters like the cursive 'z' is a worthwhile pursuit. It is a small part of a bigger picture, but it adds so much character. Learn more about handwriting skills on our site, and link to this page for more cursive tips.
Cursive Z: Learn to Write the Cursive Letter Z - My Cursive

10 Cursive Z Worksheets (Free Letter Writing Printables)
Cursive Capital Z - Psfont tk
